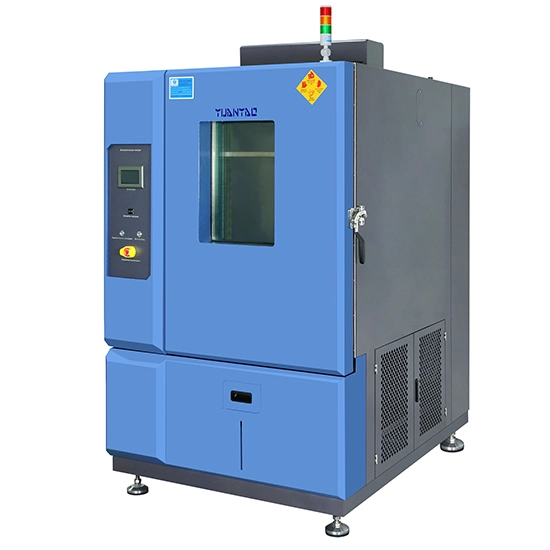
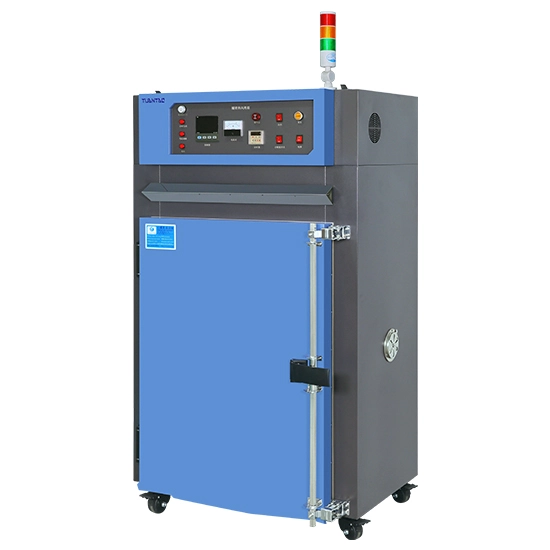
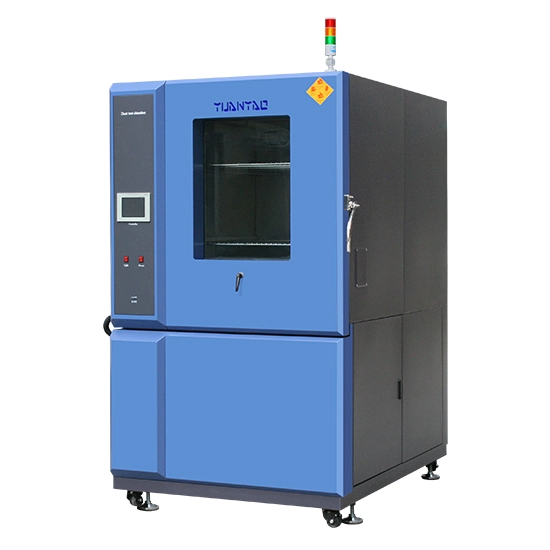
Steam aging test is applicable to electronic connectors, semiconductor ICs, transistors, diodes, liquid crystal LCDs, chip resistors, capacitors, electronic components, electronic components, metal pins, tin pin resistance test, accelerated lifetime test, and conductors, passive components and parts pin oxidation test.
Steam aging test chamber of structure, installation and operation.
Structure: control panel, cover and drawers, cover handle, box, electricity cabinet, test zone: 4 drawers, 100*540*260mm(be customized)
Control panel
1. Power switch: It is to control all the power of the machine. The machine needs to work and must be turned on.
2. Timer: Setting and controlling the test time
3. Temperature controller: controlling the temperature of heating function
4. Timer switch: It controls the opening and closing of the timer. It needs to be turned on when it is timed and turned off without being timed
5.Low level light: It indicates the water level of the inner tank. When the water is insufficient, the indicator lights up and cannot be heated at the same time; When the water is enough, the light does not turn on, and the device can be heated only when the water level reaches.
6.Output light: Heating instructions
7.End of test

Power source of installation
1. Use the power source marked on the machine.
2. Pay attention to the installation of wires to avoid trample and damage to leakage, and to ensure the safety of outside lines.
3. Connect a matching voltage socket or no fuse switch, turn on the switch ON/OFF, wait for the power indicator light to turn on, and set the temperature control by the user.
4. Detailed power supply description:
a. Voltage 220V;
b. Heating power 2.5kw
The red line is: FireWire
The blue line is: zero line
The black or color line is: ground wire
Operation
1. First connect the power supply and check if there is any leakage,
2. There is a water pipe connector at the back of the
aging test chamber, which can automatically add water after being connected; If not connect the water pipe, open the lid to add water when needing to add water;
3. Turn on the control switch and power switch on the operation panel. After the power switch is turned on, the temperature controller can display, the power supply is normal and can be used continuously;
4. After the power is turned on, the low water level light has instructions. Please add water. After the indicator light is off, set the temperature to heat; when manually adding water, please open the cover to add water.


